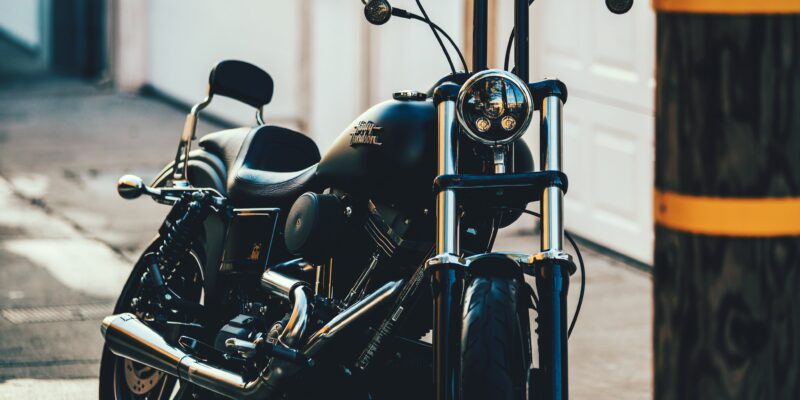
Taking great motorcycle photos is only the first step – to truly make them stand out, you need to edit them. Adobe Lightroom is a powerful editing tool that can take your motorcycle photos to the next level. In this article, we’ll walk you through the basics of using Lightroom to edit your motorcycle photos and give you tips on how to get started.
Step 1: Import Your Photos
The first step is to import your photos into Lightroom. To do this, open Lightroom and click on the “Import” button in the bottom left corner. Select the folder containing your motorcycle photos and click “Import”.
Step 2: Organize Your Photos
Before you start editing, it’s important to organize your photos. Lightroom allows you to create collections and add keywords to your photos, which makes it easier to find and sort them later on. To create a collection, select the photos you want to include and click on the “+” icon in the Collections panel. You can then add keywords by clicking on the “Keywords” panel and entering relevant words.
Step 3: Basic Editing
The basic editing tools in Lightroom are located in the “Develop” module. Here, you can adjust exposure, contrast, highlights, shadows, and other basic settings. To get started, select a photo and click on the “Develop” module. Use the sliders to adjust the settings until you achieve the desired look.
Step 4: Advanced Editing
Lightroom also has advanced editing tools that allow you to make more detailed adjustments. These include the HSL panel for adjusting colors, the Detail panel for sharpening and reducing noise, and the Lens Correction panel for correcting lens distortion. To access these tools, click on the relevant panel in the right-hand toolbar.
Step 5: Presets
Presets are a quick and easy way to apply a specific look to your photos. Lightroom comes with a variety of built-in presets, or you can create your own. To apply a preset, select a photo and click on the “Presets” panel in the left-hand toolbar. Click on a preset to apply it to the photo.
Step 6: Export Your Photos
Once you’re happy with your edits, it’s time to export your photos. Click on the “Export” button in the bottom left corner and choose the desired file type, quality, and size. You can also add watermarks or other metadata to your photos.
Now that you know the basics of editing motorcycle photos in Lightroom, it’s time to start experimenting and finding your own style. With practice and patience, you can create stunning photos that truly capture the beauty and excitement of motorcycles.


