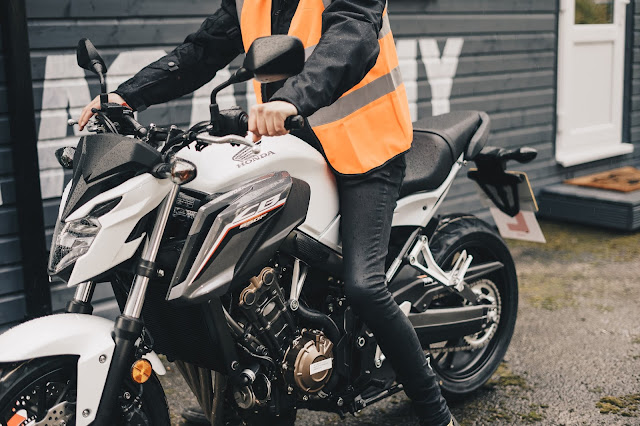
Failing the mod 1 was one of the most frustrating experiences of my life. That might sound over dramatic, but let me explain…
On the surface, the cost of doing the mod 1 bike test (£25) seems nominal. Costs grow quickly though – by the time I had paid for using the bike, for a practice in the morning, and for the instructors time to ride over to the test centre with me it cost the best part of £200 to ride to the test centre, put my foot on a cone and ride back again (in a stonking mood).
The second time I passed with zero faults. So what was the difference?
As far as I’m concerned there are two reasons for failing your mod 1) Lack of practice and 2) lack of confidence.
And the second will probably be as a result of the first.
I had very little confidence in my ability to do the slalom when I arrived for the test. And guest what – I rode straight out and completely fluffed it.
The problem was that when I did my practice session for the mod 1, I did every element of it first time without any real problems.Sounds great! But the result of this is that I didn’t learn how to do it WELL. I was just completing the tasks without really knowing how I was attacking them or how they should be approached.
When I then came back to practice again, I went through what had happened, and my instructor very quickly picked up on what I was doing wrong. So here’s what I learnt.
I’m not an instructor, and don’t claim to be an expert, but maybe this will help you. It’s also a few years since I’ve done my test – always talk to your instructor for the latest advice.
Wheeling the bike.
This should be no problem for anyone. Practice it a couple of times so you know that you can do it, then stop worrying about it.
Slalom and figure of eight
This was my nemisis.
For some reason I was able to do this first time in practice, but then follow up with the occasional brain fart that had me putting a foot down. (If you put your foot down, that’s a fail)
The exercise involved weaving in between some cones then doing 2 circuits of a figure of 8.
The problem that I had, it turns out, was this:
- It’s not about showing your slow riding skills.
I thought it was – turns out I was wrong. You can do the slalom and figure of 8 as fast as you like. When you go slow, balance is more difficult. A little more speed makes the process a lot easier. I found that then when I started to go a little bit faster I also wasn’t thinking about it so hard – I was just doing it. - Not using the revs
I was in car mode – trying to avoid rev’ing the engine – essentially doing the whole manoeuvre in idle. (on the clutch with no throttle)
This is a nice bit of clutch control, but the problem is that the solution to losing your balance is to add a little forward momentum. If you’re riding in idle, you’re not slipping the clutch, so if you try and increase the revs it won’t be controlled. If you try and release the clutch a little further the power won’t be there and you’ll stall or continue to lose your balance.
- Look where the bike needs to go, not at the cones
This is a side note to the problems I was having but you’ll be amazed how much tighter you turn when you’re looking where the bike needs to go. I don’t know why it works but it makes it so much easier.
So with a bit of extra speed, slipping the clutch with higher revs, and looking where the bike needs to go, this exercise quickly became much easier.
Controlled stop
You go round a bend then control the stop, front brake first, add in some back brake and come to nice comfy stop. Easy peasy.
Emergency stop
This is something I always found particularly easy. You need to get up to speed of 50kph which is often the hardest part. Practicing getting well above this speed and then dialling it back helped me learn how fast the correct speed was (too fast in the test won’t necessarily fail you, but makes it a lot more difficult to complete the exercises)
When you go through the speed check, you can drop the throttle off, chances are the assessor will raise his hand pretty soon after that, as there’s only so much space, so you can be pretty well prepared for this exercise.
The trick with emergency stops is a progressive grip of the break leaver, not snatching, continuing to increase the pressure until you come to a stop. You will have done something like this at CBT (hopefully!) anyway so it shouldn’t be too foreign to you.
The hazard avoidance (commonly referred to as the ‘swerve’)
If you have a google you will find a lot of posts referring to this exercise as a swerve. You will find people describing this as being terrifying and dangerous, particularly in articles posted around the time the new test came into being.
Here’s the trick though – it’s not a swerve. As far as I’m concerned doesn’t warrant it’s scary reputation.
If you line up the exercise the movement you have to make is not massive or aggressive. There is a positive change of direction required but you don’t need to do a quick left then right (or right then left depending on the direction you’ve been told to go) you only need to make the one movement to avoid the cone, then you can casually bring yourself back in line with the cones ready to stop.
U-Turn
Very similar to the slalom in that it isn’t about going as slow as you can. That little bit of extra speed will allow for a tighter turning circle. Looking back up towards the other end of the car park almost as soon as you start to turn will bring the bike round – often with more space than you need.
Don’t forget the lifesaver before you turn! this is a fail if forgotten.
Slow ride
The only part of the test that is ACTUALLY a slow riding exercise – ride at walking pace in a straight line. My examiner seemed to give very few fucks about this exercise.
So there you go. As always, get some real advice from someone that actually knows something and be safe and all that jazz.


